
mini egg cinnamon rolls (small batch & regular options)


More mini egg love is coming at you!
This dessert came at the suggestion of Amy (Constellation Inspiration), during the same coffee date that inspired THESE mini egg cookies! So it’s safe to say that she’s always an inspiration to me :)
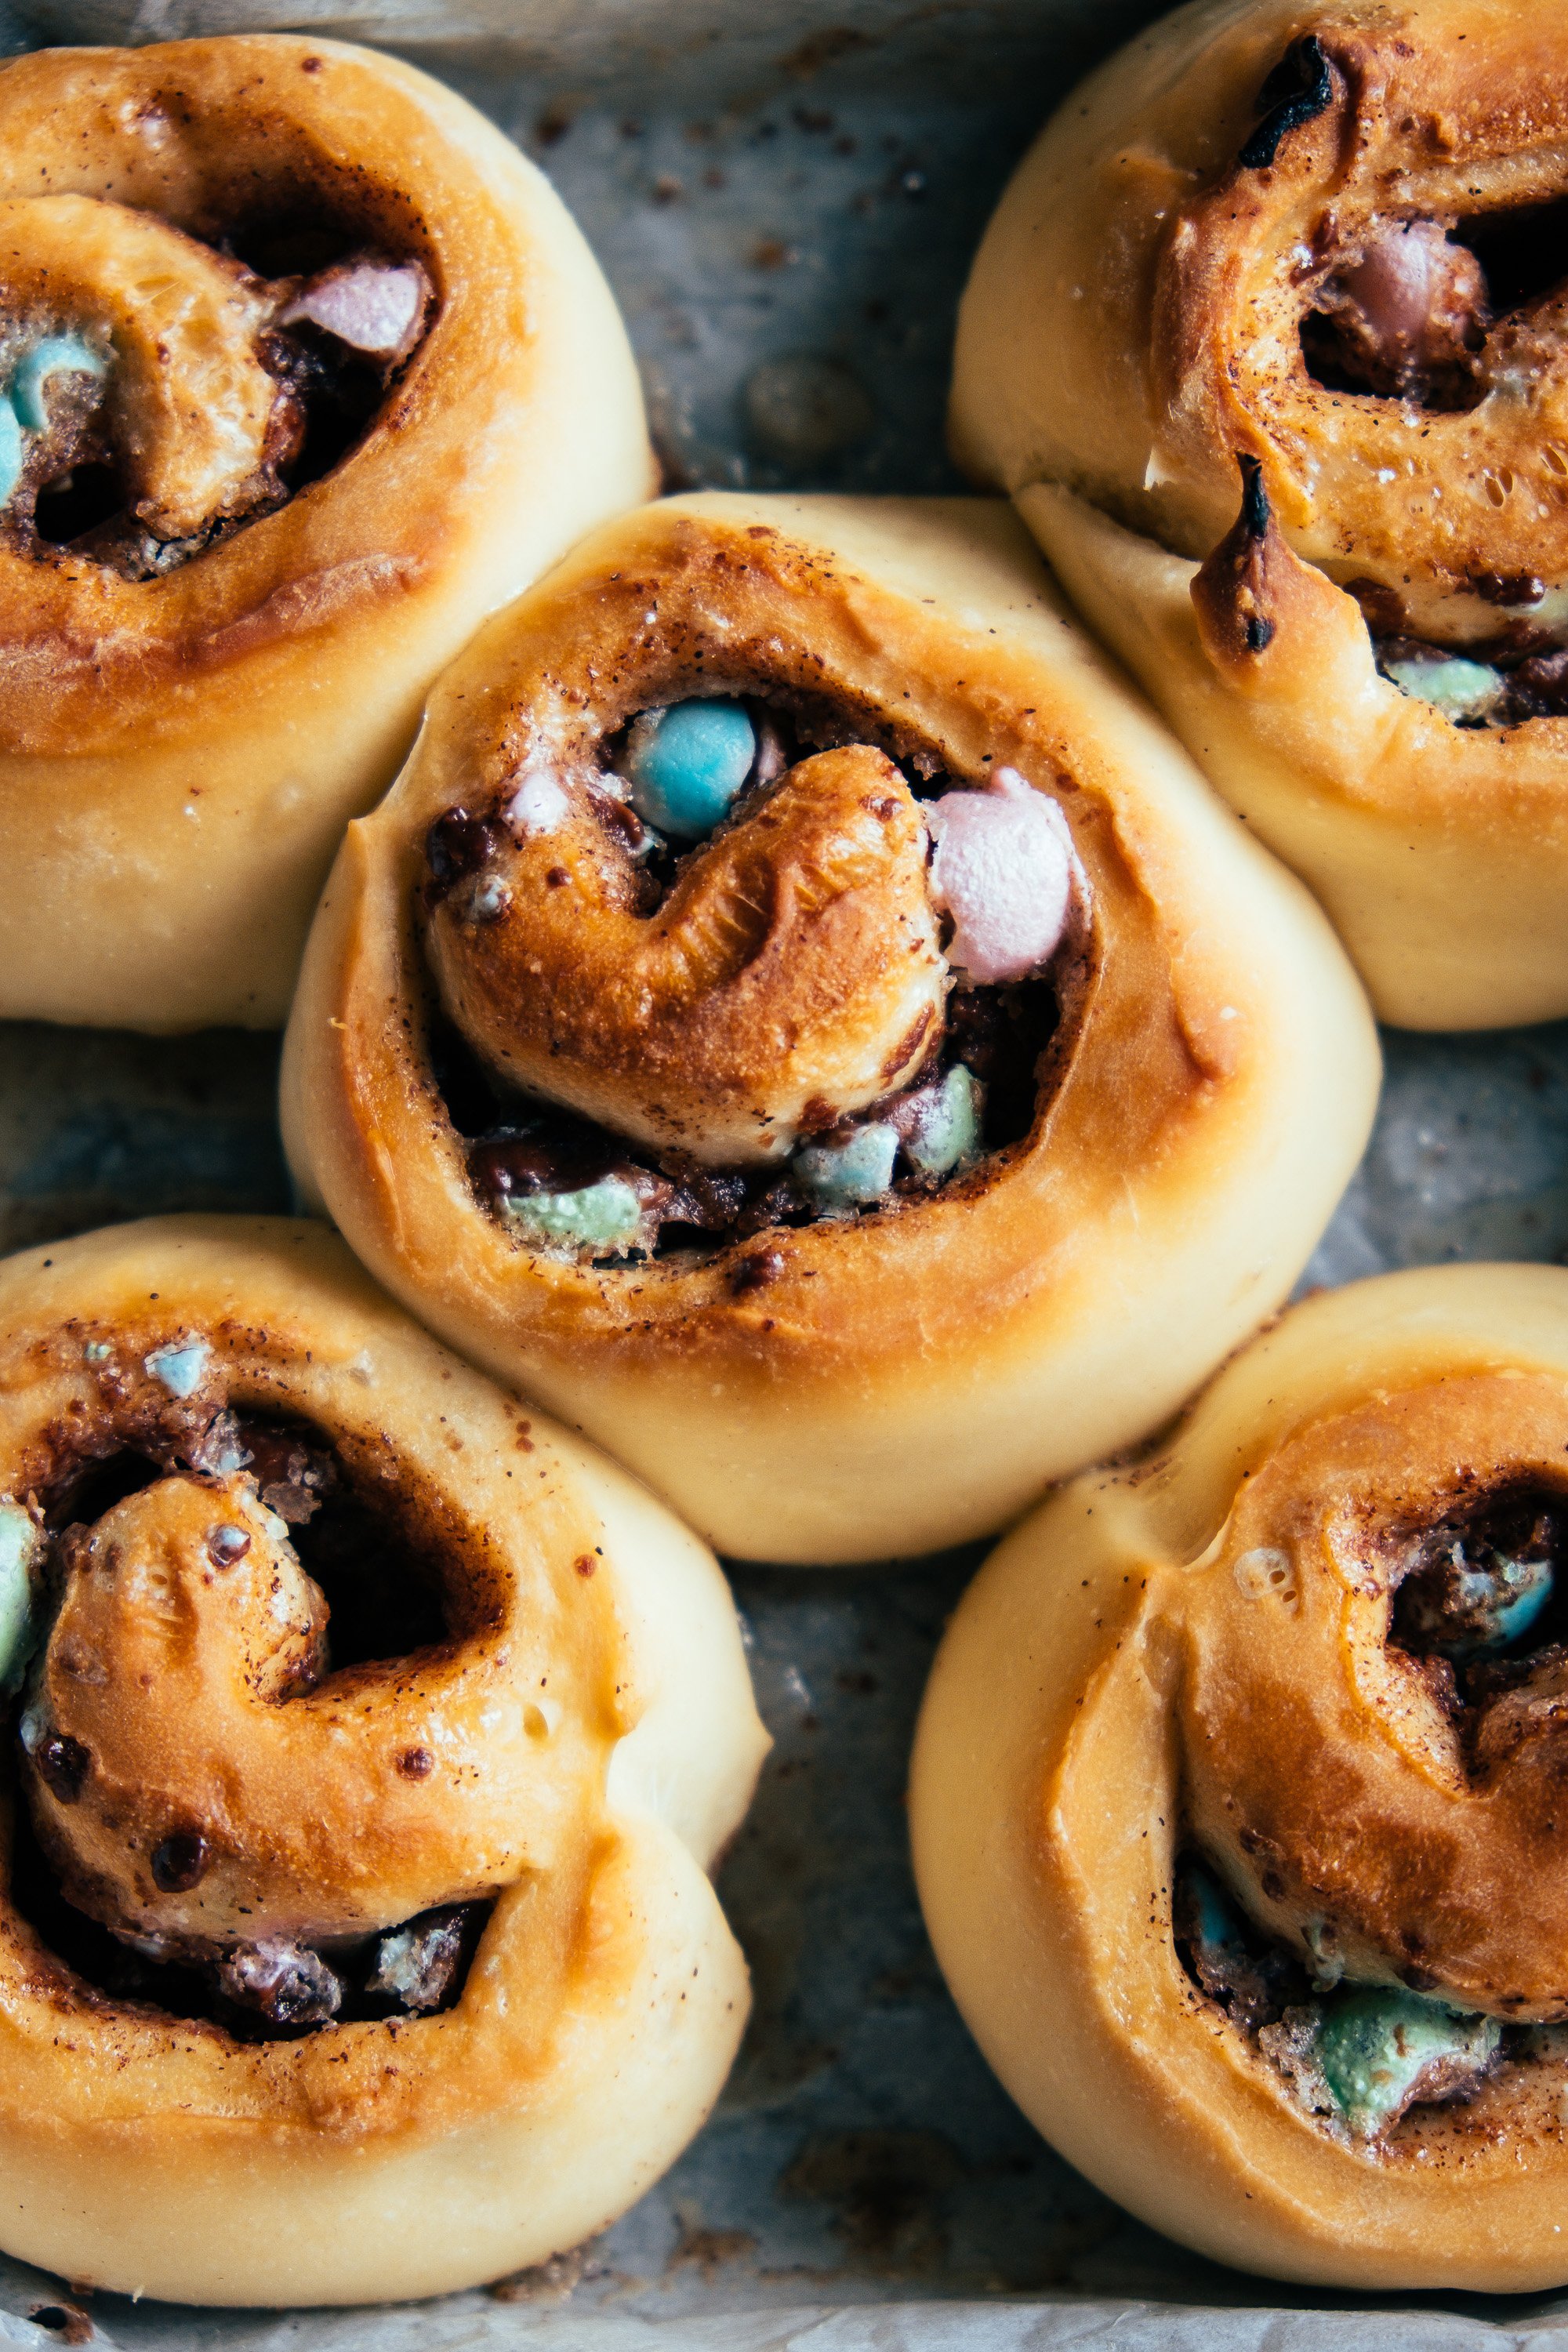
I debated for a while whether or not to do a cookie butter or even a chocolate filling, but I decided to keep these as a classic cinnamon roll….with added chopped mini eggs inside! It was the right choice, and let the mini eggs shine. Their candy coating bakes up so well, and created a gooey sort of bottom to the rolls which was delightful. I made a simple butter cream frosting for the top, and sprinkled a few more eggs on for good measure.
The instructions below are for a small batch of 5, which makes them perfect for smaller families, but it can be easily doubled for a full pan. I may just have to try these rolls with Whoppers (malted milk balls!!) too!
mini egg cinnamon rolls
recipe: Kelsey Siemens
yields: about 5 rolls in an 8x8 pan (double the recipe for a full 9x13 pan)

recipe: Kelsey Siemens
yield: 5 cinnamon rolls
ingredients
2 tablespoons hot water (not boiling - or it will kill the yeast)
3/4 teaspoon active dry yeast (you can sub quick rise yeast here, and simply skip the activation step)
1 tablespoon sugar, divided
1 teaspoon ground flaxseed+ 2 teaspoons water (OR 1 tablespoon of a beaten egg)
1/4 cup milk
1 tablespoon butter
1 1/4 cup (157 g) all purpose flour (or bread flour) + 2-3 tablespoons for kneading
pinch of salt
filling
3 tablespoons butter, softened
1/3 cup brown sugar
1 teaspoon ground cinnamon
1/2 cup chopped mini eggs (*you can add more if you’d like)
frosting
2 tablespoons (28 g) salted butter, softened
3/4 cup (94 g) powdered sugar
1/4 teaspoon vanilla extract
splash of milk or cream (optional)
more mini eggs for garnishing
directions
Prepare an 8x8 pan by lining it with parchment, and lightly greasing it with cooking oil spray or a bit of butter. Set aside. (Note: you can use any baking vessel you have on hand: pie dish, cake pan, a muffin tin, two small loaf pans, etc").
In a small bowl, stir together the hot water, active dry yeast, and 1 teaspoon of sugar. Set aside for 5-10 minutes until the mixture gets nice and frothy. If it doesn’t rise properly, try again, or you may need to buy new yeast if it’s too old! Place the remaining 2 teaspoons of sugar into a medium mixing bowl, and set aside.
In another small bowl, stir together the ground flaxseed (or beaten egg) and water, and set aside.
Heat the milk and butter together in a glass measuring cup in the microwave, or in a small saucepan if you desire. Do not bring to a boil, but the mixture should be very warm to the touch, and set aside.
In the medium mixing bowl with the sugar, stir in 1 cup of flour and a pinch of salt (a little less than 1/8 teaspoon) with a wood spoon or spatula, and add the yeast mixture, the flaxseed mixture, and then the milk mixture.. Continue to mix until a loose dough forms. Add 1/4 cup more flour, and continue to stir.
Dump the dough onto a clean counter, and start to knead by hand. Knead for 8-10 minutes! Set a timer so you don’t cut this short. Kneading helps gluten formation, which helps the dough to rise, and will result in a light and fluffy bread! It can be a bit awkward to knead this small of a dough, so you may simply want to work it between your hands instead. You may need to add a couple tablespoons of flour as you are kneading, but try not to add too much. The dough should be tacky to the touch, but shouldn’t stick so badly that it comes off on your hands.
After kneading, form a ball with the dough, cover with a slightly damp, clean dish towel, and let the dough rest for 15 minutes. (Note: this step can be expanded to 1 hour rise if you’d prefer - I’ve tried both methods with extremely similar results!).
While the dough is resting, prepare the filling. Soften the butter in the microwave if necessary. In a small bowl, stir together the brown sugar and cinnamon. Chop the mini eggs up as well. (These can be tricky since they roll around. I do a small amount at a time, with my large chef’s knife. I’ve heard of some people using their food processor for a few pulses, but haven’t tried this yet. I’ve also tried my mortar and pestle, although this method produces a more crushed egg.)
Uncover the dough, and roll out into a rectangle about 6 inches wide and 9 inches long. Spread the softened butter evenly over the dough, and then sprinkle with the cinnamon sugar mixture and mini eggs. Starting with the short edge closest to you, roll the dough up tightly. When you come to the end, pinch the dough together tightly so it won’t separate. Use a sharp serrated knife to cut the dough into 5 equal pieces, each will be a little over an inch wide. Place the rolls into the prepared pan, cover with a clean dish towel, and allow to rise for about 1 hour.
Preheat the oven to 350 degrees F.
While the dough is rising, prepare the frosting. In a medium bowl, mix together the butter, powdered sugar, and vanilla extract until smooth. Use a splash of milk if desired to adjust the consistency, or add a tablespoon or two to create a glaze that you can drizzle on.
Bake the rolls at 350 degrees F for 18-20 minutes, or until rolls are nice and golden brown on top. Remove from the oven and allow to cool for 5-10 minutes before removing from the pan.
Best served warm with a generous amount of frosting and more mini eggs on top! Store extras in an airtight container at room temperature, or pop them in the freezer for several months.
Tips:
Always set a timer when kneading bread dough - it’s so easy to want to give up too soon! This recipe is on the small side, so it may be difficult to use a mixer for it. You can use the window test to see if you’ve kneaded long enough. Pull off a small chunk of dough, and try and stretch it out so that it goes see through. If it instantly breaks, you need to knead it longer, but if you can stretch it so it forms a stretchy see through “window”, then it’s good to go.
Want more swirls? Simply roll your dough out a little longer and thinner, and you’ll get more layers. Want fluffier layers? Don’t roll it out so long, and you’ll have thicker layers.
Use the poke test to determine if the dough is ready to be baked! Gently press a fingertip into the dough: if it bounces back slowly, it’s ready! If it bounces back super quickly, it needs to rise more; and if it doesn’t bounce back out, then the dough may be overproofed and could collapse in the oven.
Make them overnight rolls: place the freshly shaped rolls into the fridge for night, and let them rise for about 1 hour in the morning after you remove them from the fridge, or until they pass the poke test, and bake as usual. The mini eggs candy coating may ooze out a bit more with this method and create a gooey bottom once baked. I loved it! But don’t want you to be surprised if this happens.
Freeze rolls without frosting for a sweet treat for later! Let roll come to room temperature, or slightly warm before serving.


Happy baking!
-Kelsey