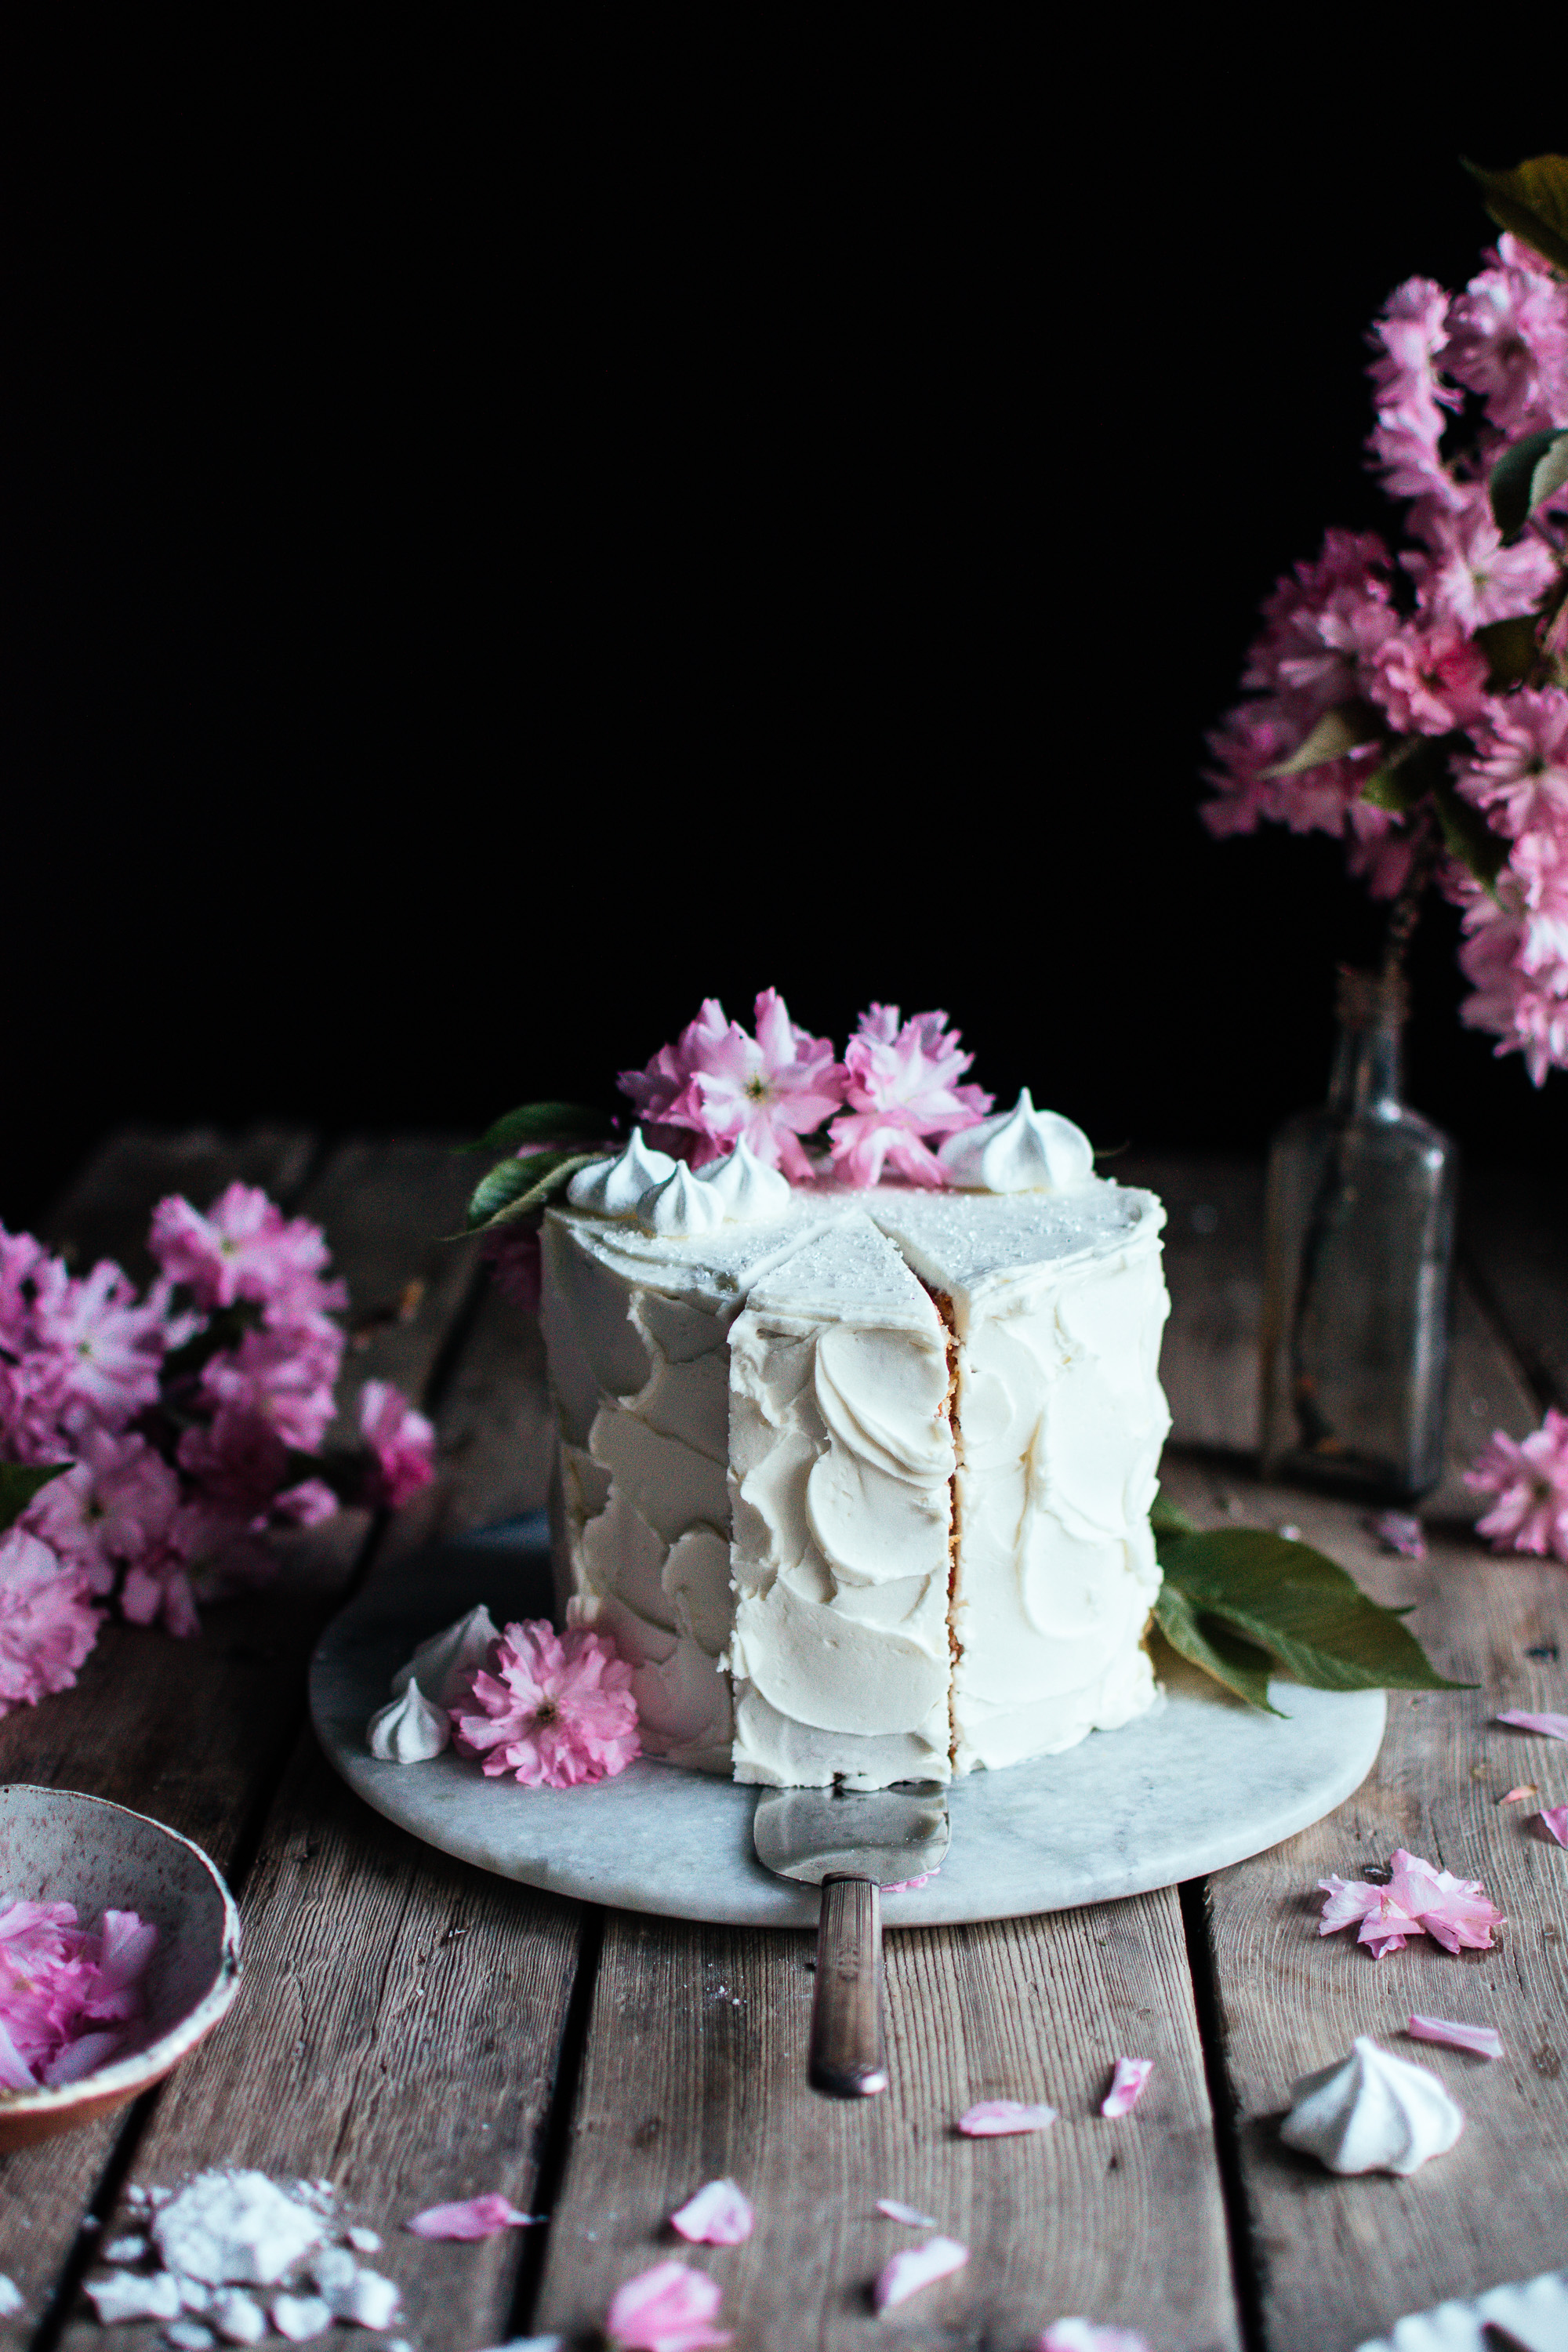
retro cherry chip layer cake with vanilla butter cream


This cake was 100% inspired by the gorgeous cherry blossoms that graced us with their presence a few weeks ago! Pink topped trees lined the streets, spreading petal confetti whenever the wind blew too hard. They are one of the first signs of Spring, and a sight for sore eyes after the cold of Winter.
So I knew I wanted to incorporate the blossoms…and then I had to dream up a cake to go with it. Cherry blossoms….cherry cake! I thought it’d be so fun to recreate a retro cherry chip cake, just like the box mix! Fluffy white cake was flavoured with vanilla as well as almond (almond extract always gives it that nostalgic “box mix” flavour!), and then marashino cherries were folded into the batter. I bet this would work with regular fresh cherries too….but alas, cherries were no where in sight while I was testing this cake! If you try that out, please do let me know!
I paired the cake with a classic vanilla butter cream. Because sometimes simple is best.
cherry chip cake
recipe: Kelsey Siemens
yield: three 6-inch round cakes
ingredients
3/4 cup (177 mL) milk
1/4 cup (63 grams) greek yogurt (or sour cream)
1 1/2 cups (180 grams) cake flour
1 1/2 cups (180 grams) all-purpose flour
1 tablespoon baking powder
1 1/2 cups (300 grams) granulated sugar
2 teaspoons vanilla extract
3/4 teaspoon almond extract
1 cup (240 mL) canola oil (or your choice of neutral oil)
6 large egg whites
1/2 cup marashino cherries, chopped
directions
Preheat oven to 350 degrees F. Grease three, round, 6-inch cake pans, and set aside.
First, stir together the milk and yogurt until combined, and set aside.
In a medium bowl, sift together the cake flour, all purpose flour, and baking powder, and set aside.
In a large bowl, mix together the sugar, vanilla extract, almond extract, and oil, on medium low speed, until combined. This can be done with a hand mixer or with the paddle attachment of a standmixer. Add in egg whites one at a time, until fully incorporated.
Add 1/2 of the flour mixture, and mix on low until almost incorporated. Add in about 1/2 the milk mixture and mix on low until almost incorporated. Repeat with remaining flour, and remaining milk mixture. Stop mixing before it’s fully incorporated. Use a spatula to scrape down the sides, and gently fold the chopped cherries into the batter until everything is fully incorporated.
Divide the batter into the three prepared cake pans. Bake for 28-33 minutes, or until an inserted toothpick comes out clean. Remove and allow to cool on a cooling rack for 5-10 minutes before removing from pans.
Assembling the Cake
To assemble the cake, use a long serrated knife to carefully level the tops of each cake. The flatter you can get them, the easier it will be to have a perfectly level cake.
Let the cake layers chill in the fridge or freezer while you make the frosting - recipe for my vanilla butter cream can be found below.
Place a tablespoon of frosting in the middle of your cake plate (this keeps the cake from sliding around, and then lay the first layer of your cake cut side down (this reduces crumbs!) and press it firmly into the frosting. If you’d like to reduce the amount of frosting that may end up on the cake plate, you can cut 4 strips of parchment paper out, and lay them in a square pattern half an inch under the edges of your cake. I usually don’t bother, and will instead just give the cake plate a quick wipe down if I’m messy with the frosting.
Next, scoop about 1/4 of the frosting onto the first layer, and spread out with an offset spatula or butter knife. You could also use a piping bag to pipe it right on in an even layer - this would ensure the exact same amount of frosting will be on both layers. I prefer to use an ice cream scoop, and scoop 3 blobs of frosting onto each layer. Do whatever works best for you!
Place the 2nd cake layer, crumb side down, on top of the even layer of frosting. Repeat the above step.
Finally, place the 3rd cake layer on top, firmly pressing down. Try and make sure the cake is looking pretty even at this point, and adjust the layers as necessary. Spread a thin layer of frosting onto the top of the cake, as well as down the sides. This is the crumb layer, and doesn’t need to look pretty. It’s important to fill in any spaces that may exist between layers, and to cover every surface with frosting. I like using a bench scraper to evenly scrape the frosting around the cake, but a normal butter knife will also do the job.
Place the cake into your fridge for 10-15 minutes, or freezer for 5 minutes to let the frosting set a little bit.
Frost the cake in whatever design you’d like. Smooth, rustic (my fave….it hides a multitude of sins), textured, or piped (if you want to do a lot of piping, you’ll want to 1.5x or 2x the frosting recipe below. Add sprinkles if you’d like! Garnish with cherry blossoms (they’re edible!), meringues, or whatever you so choose.
Serve and enjoy!
Tips:
I like to make my cake layers the day or week ahead of time, and will go ahead and level them, and then wrap them up in plastic wrap and place them in the fridge (for a day) or freezer (any longer than 1 or 2 days) to keep them super fresh. They’re also easier to work with when chilled.
This cake freezes very well in an airtight container. I always freeze my cakes immediately after cutting and serving (if there is any left that is!).
vanilla butter cream frosting
recipe: Kelsey Siemens
ingredients
1 1/4 cup butter, softened (I like using salted - as I find it cuts the sweetness)
1 tablespoon vanilla extract
1-3 tablespoons cream (milk works fine too)
3-4 cups powdered sugar
directions
In the bowl of a stand mixer, or in a large bowl if using a hand mixer, place the softened butter. We don’t want it melted, but we do want it pretty soft. Think the type of softness that would spread nicely on a piece of white bread! Now you want to whip the butter for 5-7 minutes on high. This is something new that I’ve tried with my butter cream, and oh boy is it a game changer. Whipping the butter for that long helps aerate it, and makes it super fluffy and silky. You’ll notice that it will get much lighter in colour as it whips…and will almost be pure white when you’re done. That’s exactly what we want.
Add in the vanilla extract and 1 tablespoon of cream right away, then add the powdered sugar about 1/2 cup at a time, and mix on medium speed until incorporated between each addition. Start with 3 cups of powdered sugar and see what the consistency is like. If you want it a bit firmer, simply add in a bit more! Once all the sugar is added, beat on medium high for another 2-3 minutes.
Store in an airtight container in the fridge until ready to use. Bring to room temperature before using - you may need to whip it again to get the smooth texture back.
This frosting freezes well.
Happy cherry chip cake baking!
-Kelsey