
apple hand pies


So, here we are, halfway through February and I'm already yearning for Fall. Seriously, if we could just have Fall keep going and skip Winter, that would be great.
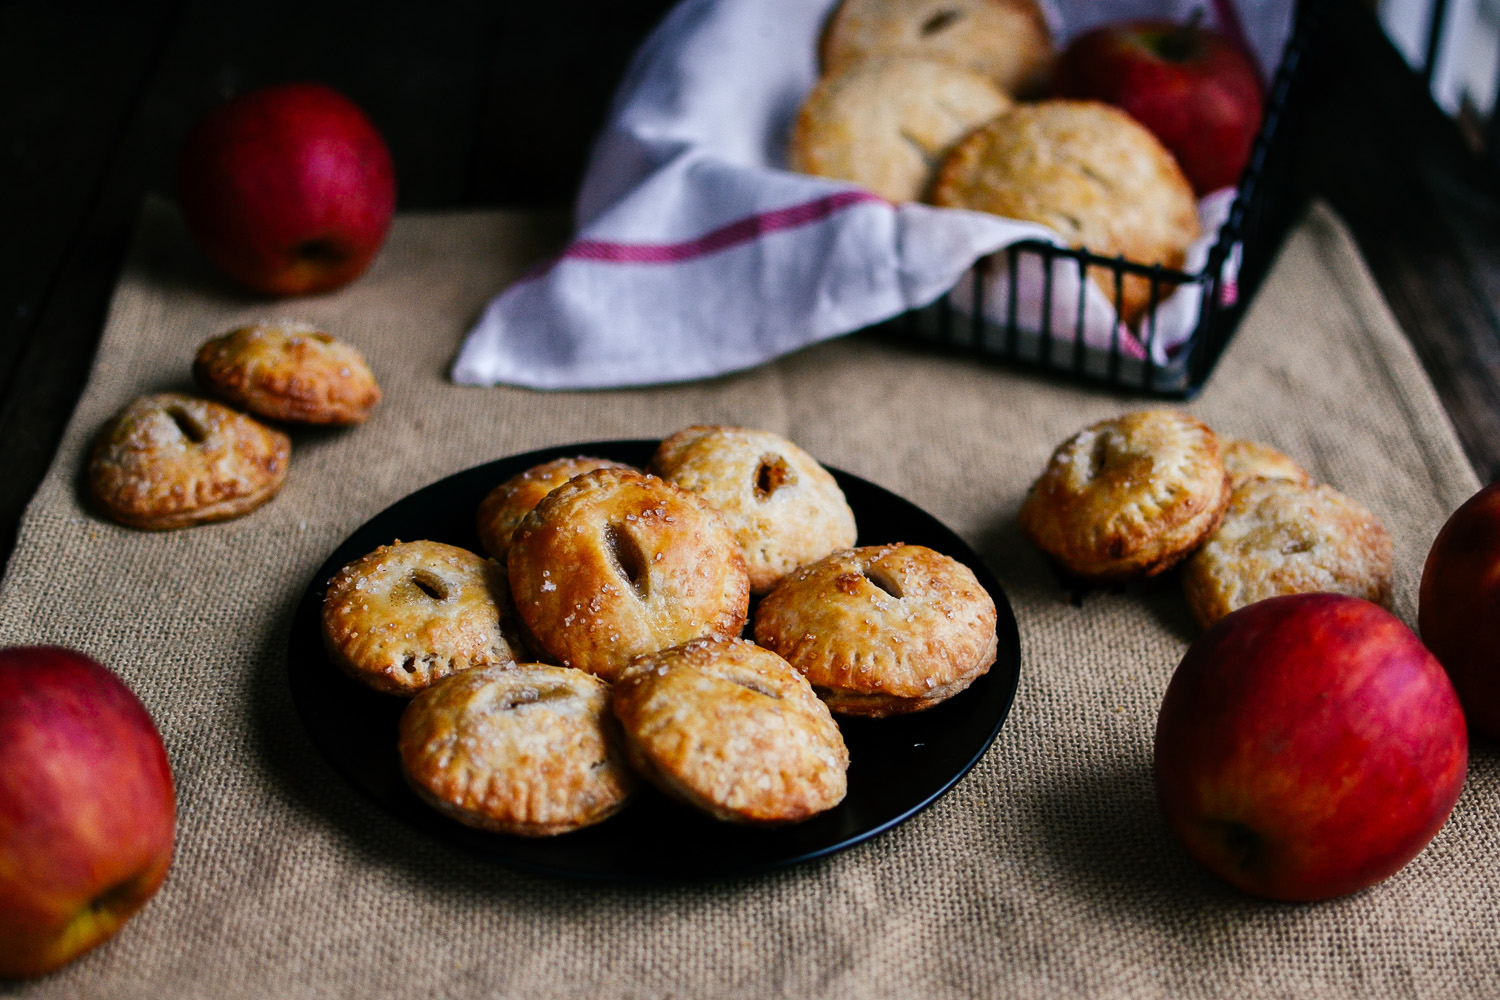
In the midst of my pining I decided to make pie. Hand pies to be specific! I used up some of the last few Elstar apples that we had in storage, and what a perfect ending it was for them. Now hand pies take quite a bit more time than normal pie does! Ha! I grew a bit impatient halfway through the process, but I promise that they're worth it. I think these little parcels of perfection would be so great for a picnic, or bbq where more dishes would just be a hassle. That's the beauty of a hand pie...you just pick it up with your hand, and eat it! Heck yes!


Now, if you've been around the blog for a while you'll be aware of the fact that I don't actually like pie all that much.....well USED to not like pie that much. You see, when I was younger, I really didn't like the idea of cooked fruit, and then I was not too sure about pie crust (what was I thinking?), and as I got older I clung to the idea that "I didn't like pie". First of all, because I was stubborn, and then because I was scared of all the pie I would consume if I decided I liked it...since my mom is the queen of pies and we tend to bake quite a number of them around our house.
Anyhow, I ate a hand pie to make sure that they were good......and then I ate another one, and maybe another. So yeah. I am now officially converted. I LIKE PIE! (And am no longer a freak of nature.)
So, without further ado....here is the recipe!
Apple Hand Pies
pastry recipe yields: dough for 4 pies - (we refrigerate whatever we don't use)
pastry recipe: Jean Pare - Company's Coming: Desserts
Directions
1) Mix together flour, salt, baking powder and brown sugar in a large bowl.
2) Cut up lard and add to dry ingredients.
3) Using a pastry cutter (or a plain old fork works as well), cut in lard until your mixture is crumbly.
4) Break your egg into a liquid measuring cup and beat well.
5) Add vinegar to the measuring cup.
6) Add very cold water to the measuring cup, until the mixture measures to 1 cup.
7) Pour liquid mixture over flour mixture slowly, and stir.
8) Use your hands to work the mixture together until it no longer crumbles apart. This is where experience will come in, as you don't want to overmix the dough! Once you make it a couple of times, you'll get the feel of it.
9) Divide into 4 equal parts. Each part will make one pie (or quite a number of hand pies), so you can choose to use it all at once, store some of the dough in the fridge* for up to 2 weeks, or pop some of into the freezer for later!
*If you do refrigerate your dough overnight (or for a few days), be sure to take it out at least an hour before you roll out it. Otherwise it will be too stiff!
Pastry Ingredients
5 cups Flour
2 tsp Salt
1 tsp Baking Powder
3 tbsp Brown Sugar
1 lb Lard (or vegetable shortening)
1 Egg
2 tbsp Vinegar
Cold water
Hand Pie Apple Filling and Assembly
**NOTE: the number of hand pies this recipe yields will be dependent on how much pastry dough you use, and how big you make the pies. I made a bunch of filling, and then filled hand pies until I was sick of it! Hand pies have a higher ratio of dough to filling, so you may want to double the filling recipe if you plan on making a lot of hand pies.
Hand Pie Assembly
First, assemble your apple filling. Peel your apples, and then dice them into smaller pieces than you would for a regular pie. Toss the apples in a medium bowl with cinnamon, flour, and sugar.
If your dough is in the fridge, be sure to take it out about an hour before you want to roll it out.
On a lightly floured surface, roll out the pie dough, and then use a round cookie cutter to cut out circles. (Note: you want your dough very thin, but not so thin that it will rip once you start stuffing it with apples! this might take a couple trials to get just right).
Spoon a bit of apple filling onto half of the circles, and then place a matching circle on top of each of them.
Use a bit of water on your fingers to wet the inside edge of one of the circles, and then pinch the edges together tightly until it seals. Then, use a fork to further seal the edges and make a decorative pattern (see photos below). Place each hand pie on a baking sheet lined with parchment or a baking mat.
Cut one or two small vent holes in the top of each hand pie. Brush a bit of milk (or whisked egg) on top of the dough to help them get brown and glossy, and sprinkle with a bit of coarse sugar.
Bake at 400 degrees for 18-22 minutes, or until bubbling occurs and apples are soft!
Apple Filling
3 medium Elstar apples (or any tart apple of your choice)
3/4 tsp Cinnamon
2 Tbsp Flour
1/3 cup Sugar


So the moral of the story today is....don't be stubborn, and pie is delicious.
-Kelsey